Last month — as you may recall — I purchased my first pizza stone. Unfortunately, when it arrived in the mail it was cracked (Pizza Stone Fail). Well my new stone arrived earlier this month and thanks to a number of pizza related birthday presents I was in good shape to start making my first homemade pies.
Before I take you through the steps, it’s worth noting that we are in the midst of a homemade pizza boom. Earlier this year, The New York Times published a piece about how to make pizza at home (The Slow Route to Homemade Pizza) and Slice recently began running a feature – My Pie Mondays – in which amateur pizza makers are able to show off their work.
I took a class at Pizza A Casa earlier this year (Making Pizza At Home Is Easier Than You Think), but hadn’t been able put to use the tips I learned until now.
I was a little nervous to make my first pie. I eat so much good pizza each week and I was worried that my homemade pizza would not compare to even a standard New York slice joint. Boy was I wrong. I know it’s odd to write about how great something you made yourself tastes… but I really surprised myself. I knew that the pizza looked delicious when it came out of the oven, but when I took my first bite, it was a transcendent experience. It was a lot of work, but I encourage any pizza lover to go and make your own pizza. It’s relatively easy and with high quality ingredients, there’s no limit on how good the pizza can taste.
Let me take you through my experience.
I started by mixing 1/4 cup of water with a packet of active dry yeast (available at any grocery store). After a few minutes, it was clear the yeast was, in fact, active!
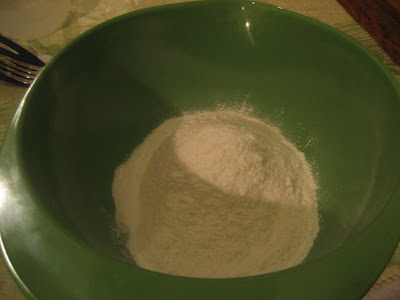
I then took the yeast mixture and combined it with 1 1/4 cups of water and 3 1/2 cups of “oo” flour. This type of flour can be found in any Italian grocery store — it’s
the most highly refined flour and is recommended for making pizza dough.
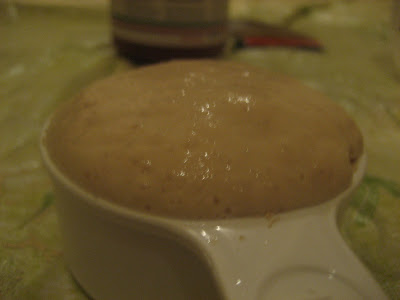
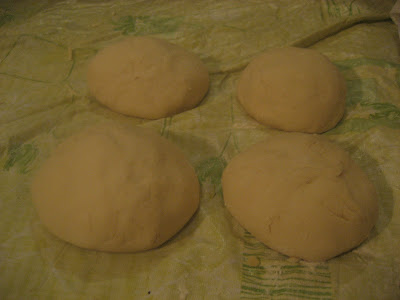
After hand kneading the dough, I was able to divide it into four balls which would soon become the bases for my pies. I set aside the balls in four separate covered containers for 45 minutes to allow them to rise.
The dough was then carefully stretched using a deejay like motion in which the pie was turned in circle, with one hand holding it in the center and the other hand doing the stretching.

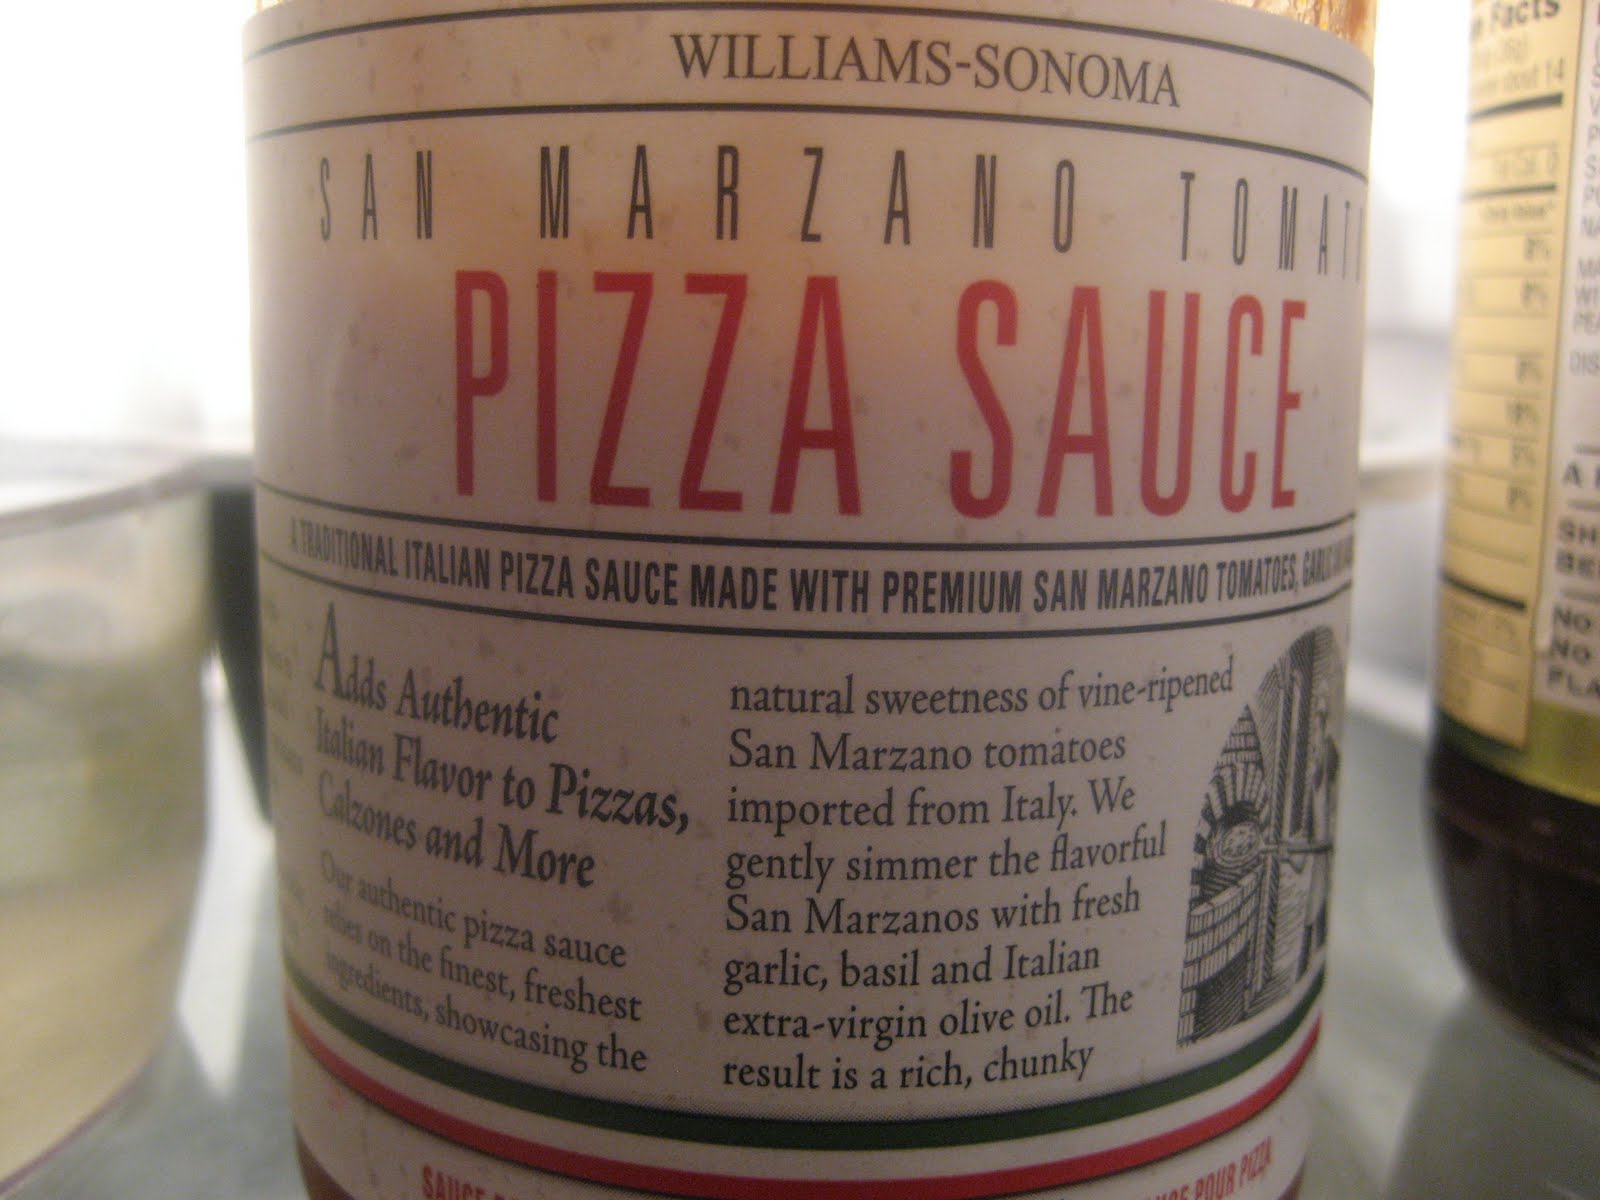
And now… the fun part begins… toppings! I wanted my first pie to be basic, with just cheese and sauce as the base. I’d been given some pizza sauce from Williams-Sonoma as a gift so I applied that to the pie along with some fior di latte cheese I purchased from BuonItalia in the Chelsea Market.

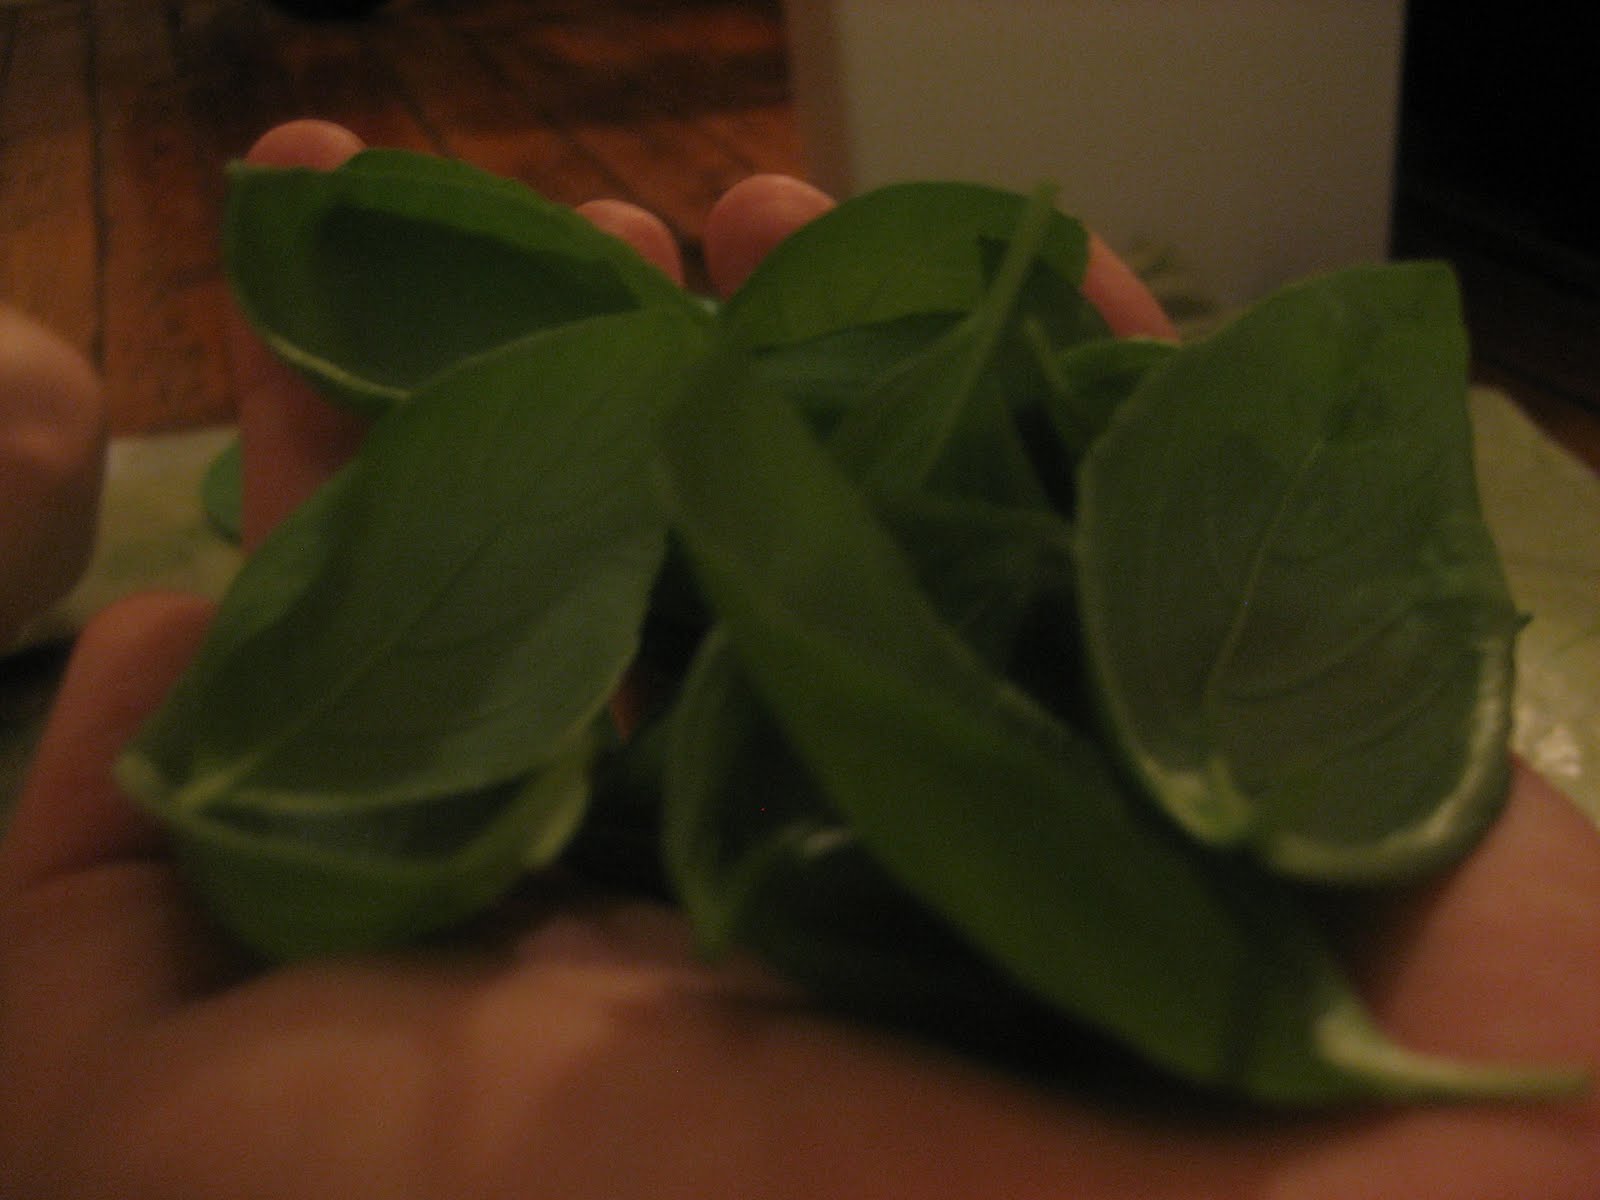
My topping plate contained these items along with some hand snipped basil from a plant that I’ve been growing in my apartment.

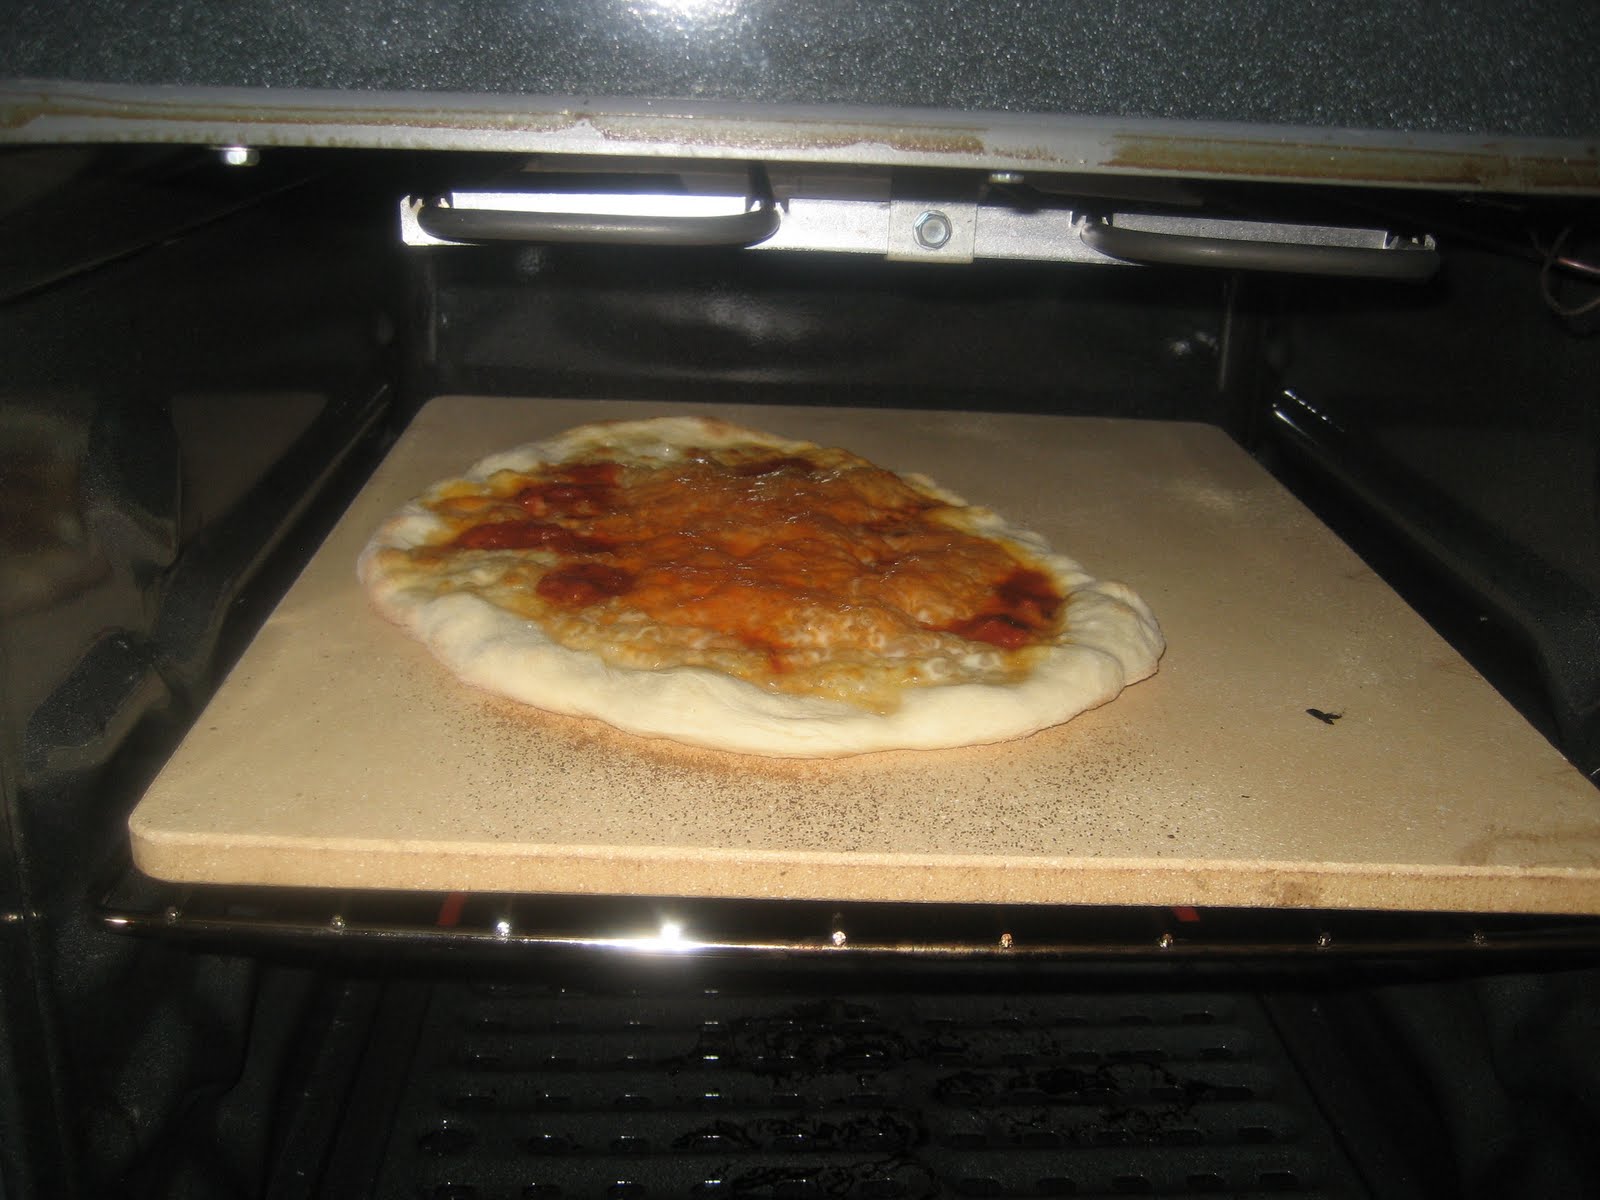
The cheese and sauce were applied to the pie…

… and then it was time to get that sucker into the oven!

I left it in there for just over 10 minutes. Once I noticed a bit of charring on the crust, I took it out. It was then time for garnishes. First the basil…
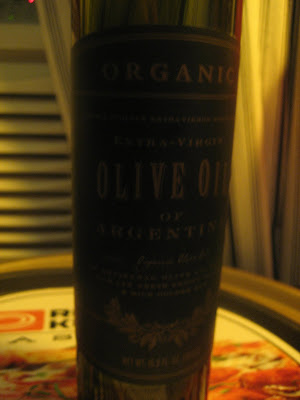
… then some olive oil (also from Williams-Sonoma)…
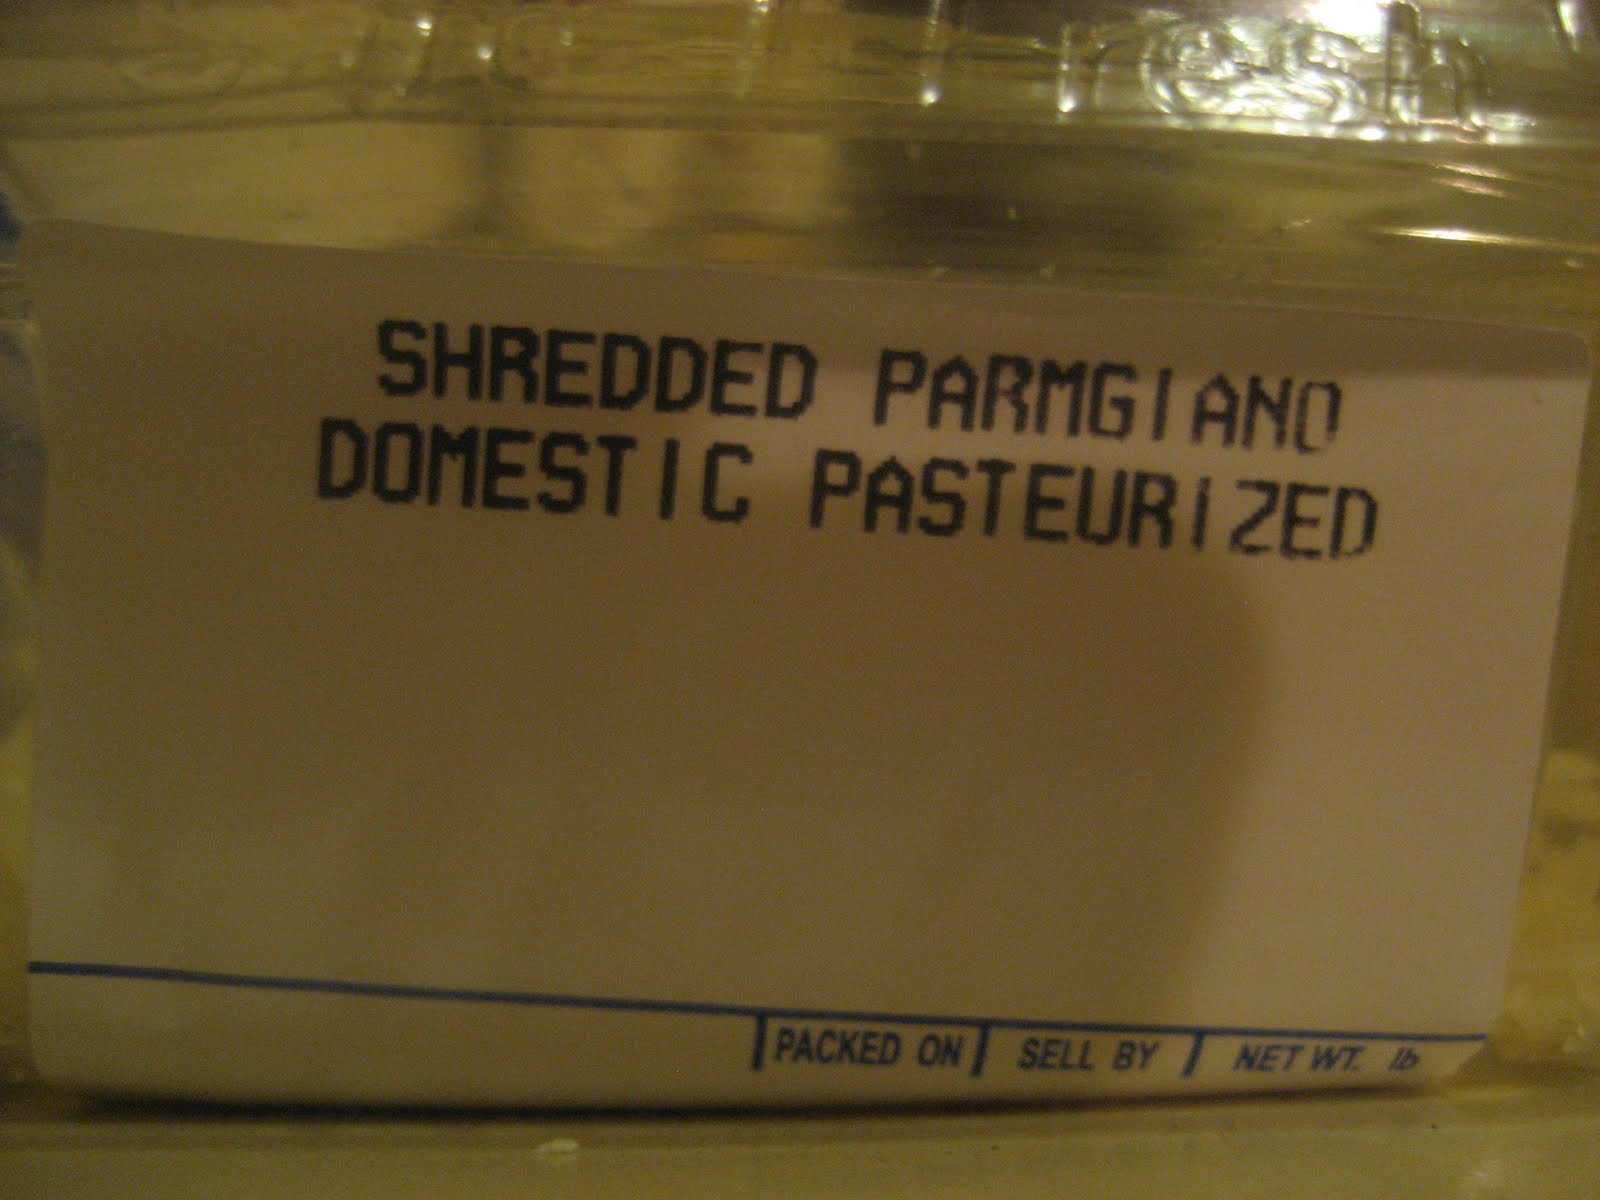
… and finally a bit of shredded parmgiano.

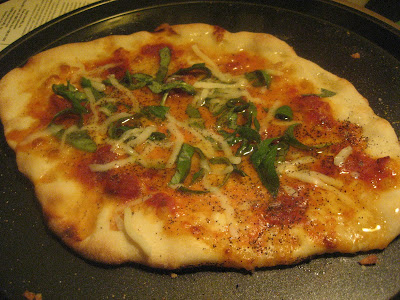
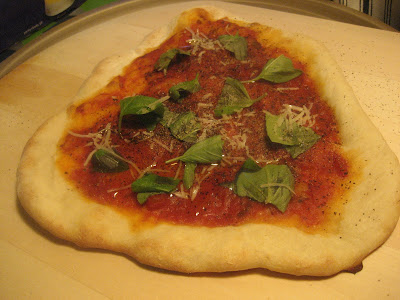
All this work was worth it when I dug my mouth into the first slice. I guess the best part about making a pie at home is you’re in control. You can use ingredients as you see fit. Love basil? Throw it on! A bit of garlic? Why not? My favorite pizza comes from Di Fara in Brooklyn, so I tried to mimic their pies as much as possible. Maybe I was hallucinating at this point, but I’d like to think I came as close as possible to making a home version of a Di Fara pie. By now you’re probably wondering what it looked like. So here you go:

This pie was followed by three more pies. On the second pie I replaced the shredded parmgiano with Jarlsberg cheese and added pepper and garlic.
My third pie was cheese based and featured shredded parmgiano, Jarlsberg cheese, and fior di latte — all prior to being cooked. It was then topped with shredded parmgiano and Jarlsberg cheese after it came out of the oven. A little bit of honey was added for additional flavor… and of course basil!

The fourth and final pie was sauce based. Additional flavor was given with a hint of shredded parmgiano, pepper, garlic, and basil.
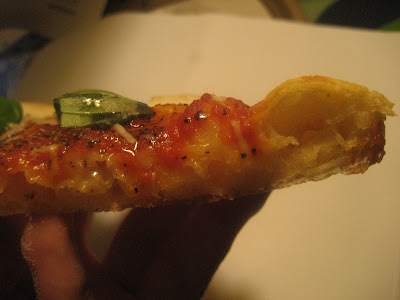
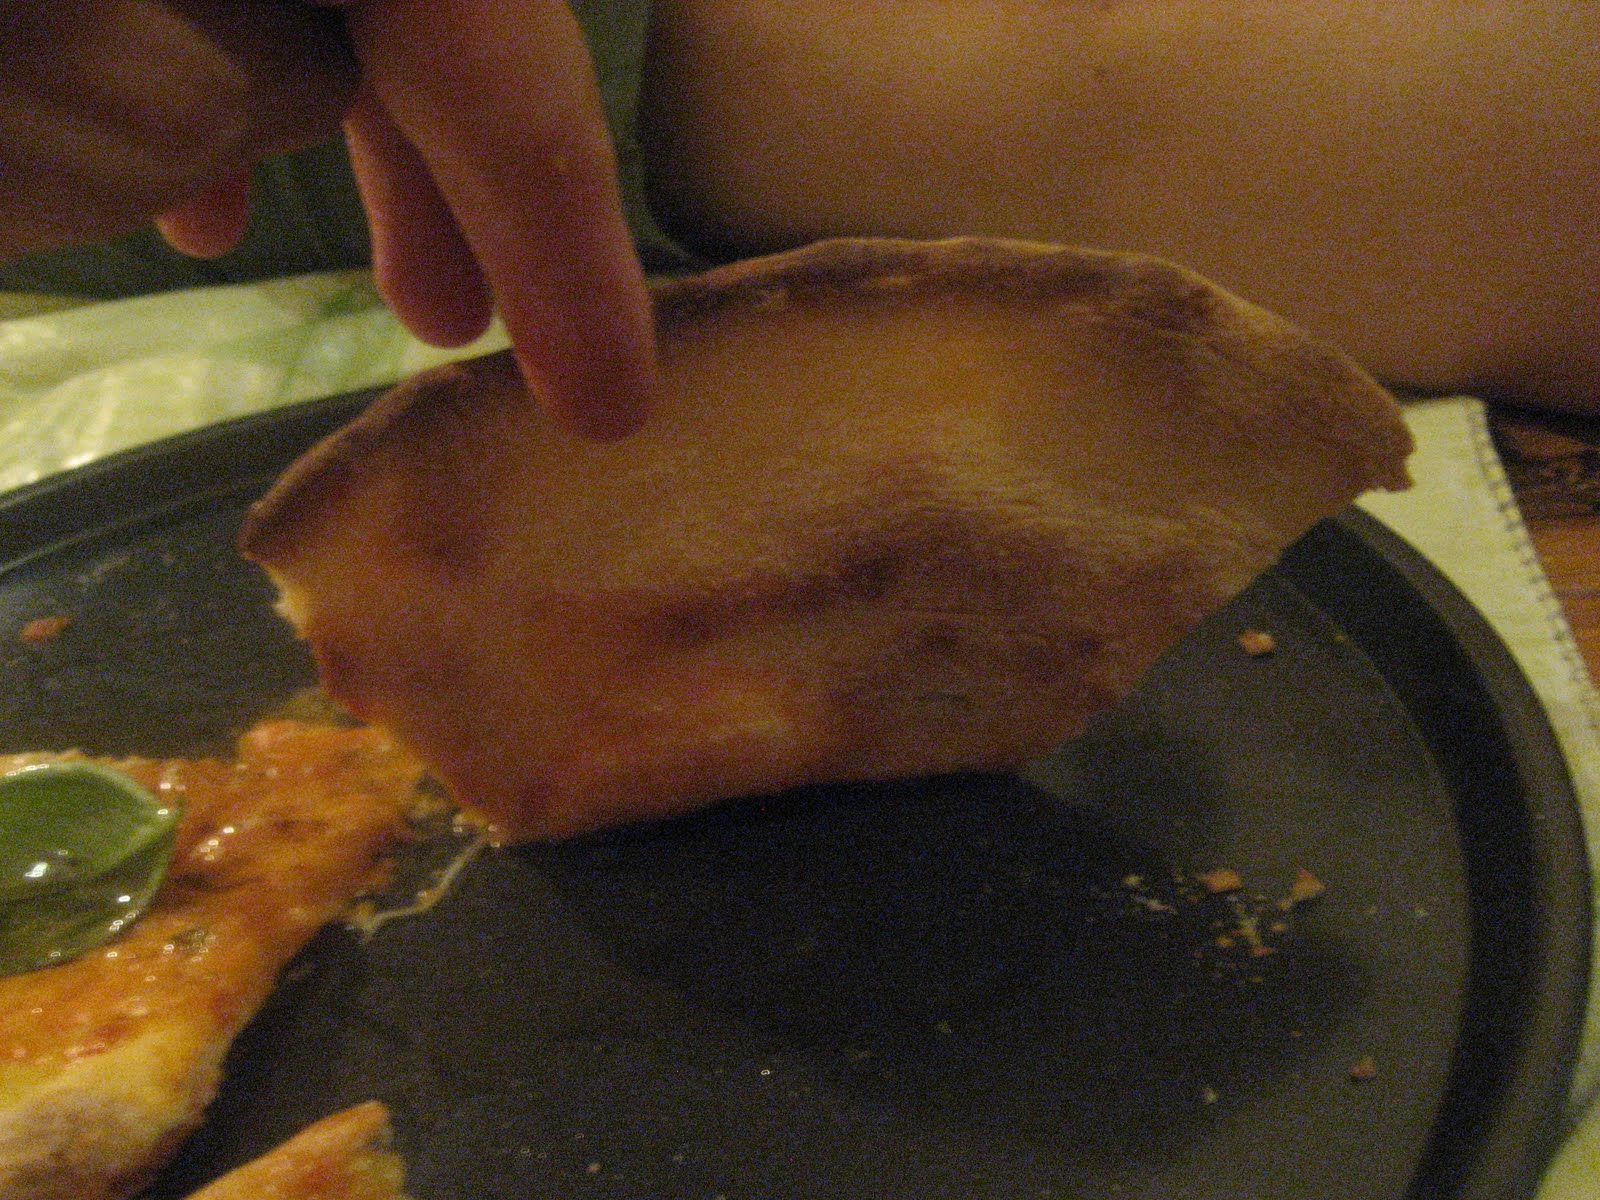
Here are a couple of additional photos that should give you a sense of the kind of crust I was able to achieve in a standard oven. I can’t wait to make more pizza soon!


 I Dream Of Pizza A Pizza Blog, Established In 2008


![Making Homemade Pizza With XOXO Cooks [VIDEO]](https://idreamofpizza.com/wp-content/uploads/2014/09/xoxocooks-300x160.png "Making Homemade Pizza With XOXO Cooks [VIDEO]")
")
